(Tuesday 2/16/16)
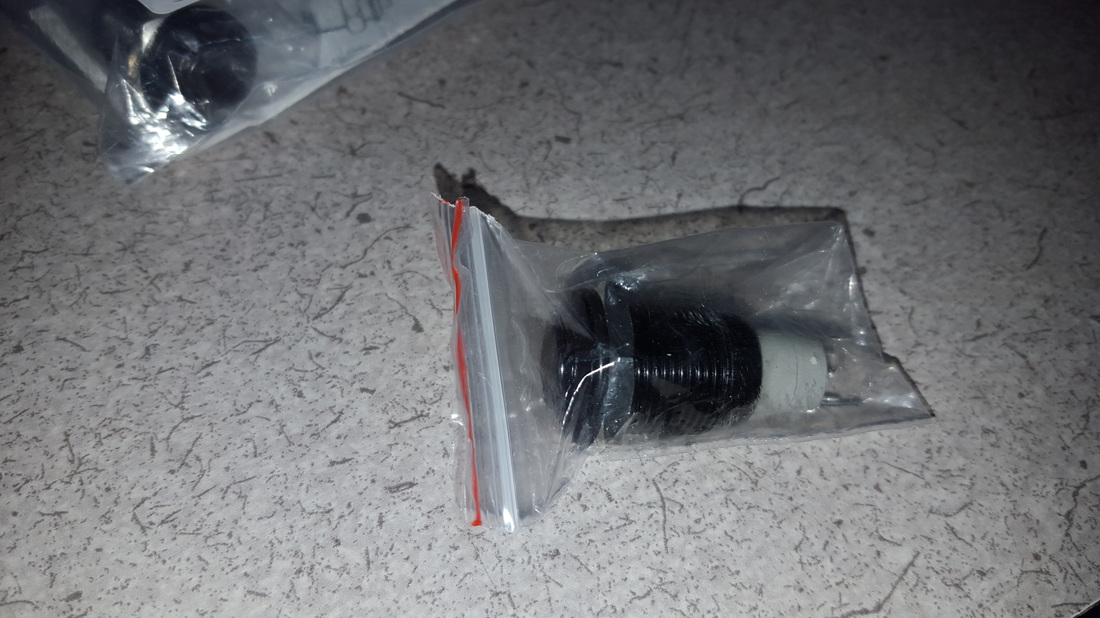
Scott wasn't able to pick up the metal for our lightsabers this weekend, Harrison forgot to send the cut specs, so instead of starting the metalwork for our lightsabers, we started working with Harrison's newly shipped switches. We hooked the switches up to our battery thing. Besides that, we did some lightsaber choreography... We're kinda stuck in terms of genuine progress till Scott gets that metal.
(WEDNESDAY 2/17/16)
Well, we still don't have any metal.
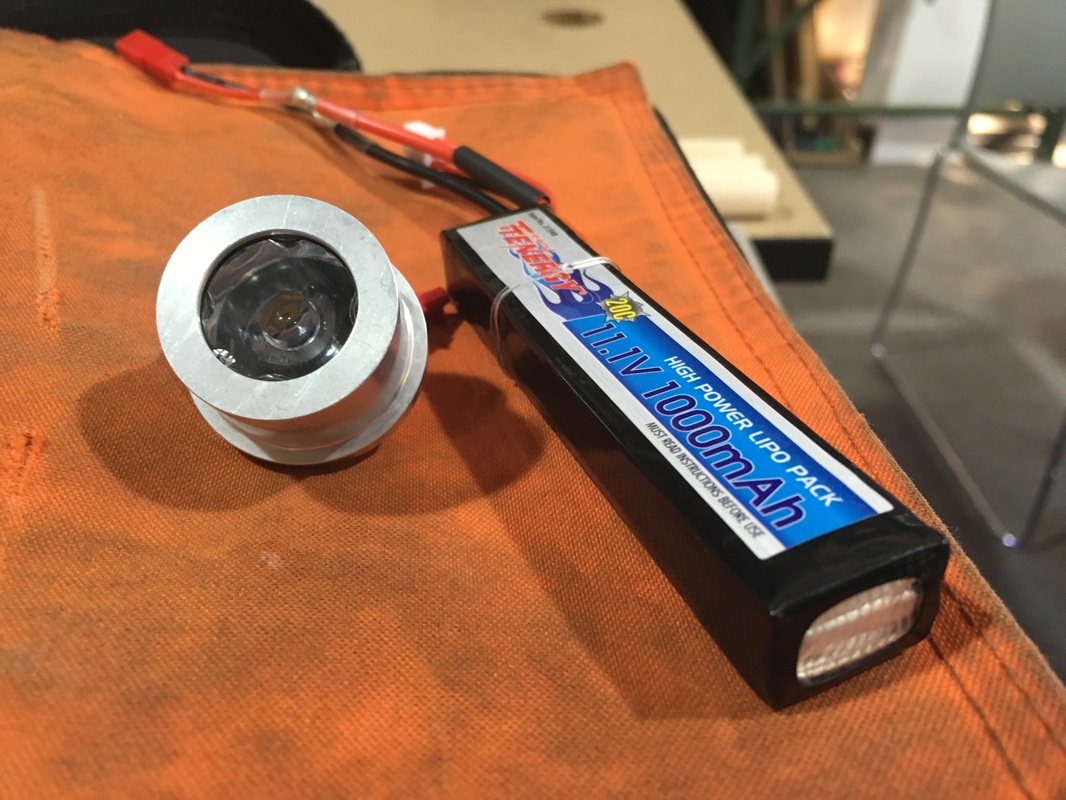
On the bright side, Harrison's High-Power LED and battery was delivered to his house. We started the day out by hooking up the LED to the battery. immediately, a problem arose. The LED took a 2-pin power connector. The battery only had a 4 and 5 pin connector.
Damn.
We proceeded to go a find 2-pin female connector to solder to the battery. Our quest brought us to Andrew Gloag's classroom where we found the connector, We brought it back to Scott and (for safety reasons) he started to solder it for us. Scott proved his superiority over us by schooling us in the ways of the Lipo battery. before clipping the wires he taught us something quite valuable. Before even touching the soldering iron, we could have blown ourselves up if we clipped (or touched) the positive and negative wires together. Thanks Scott.
After using some heatshrink to ensure that it wouldn't explode, the moment of truth arrived. We connected the LED to the battery for the first time. A glorious blip. Then nothing.
The LED lit up for just a second. The LED then burned out split second.
We had overlooked something quite important.
We needed a resistor.
S**t.
This is where stuff took a downward plunge.
We needed to purchase another LED and a resistor. We needed an 18 ohm resistor with a capacity of at least 8.82 watts. To find these specs, we employed a couple of equations. (I have since forgotten the equations. Sorry.) So, now we know what to do tomorrow when we (hopefully) have that metal.
(THURSDAY 2/18/16)
Still no metal.
I guess the machining will have to wait till next week.
I spent today working on the SFX side of the project. Harrison taught me how to use Adobe After Effects to apply a lightsaber effect to the test footage that we had taken using a technique called "rotoscoping"
Rotoscoping is the application of a tracking effect to an object. (In this case, a lightsaber to a dowel.) The process has to be done one frame at a time, so the process is super tedious, especially with a high frame rate. (This is why all the test shots are filmed at 30 FPS)
Here's an example that Harrison made in about an hour.
I haven't done any test footage on my own, so I guess that's a task for Monday.
(Friday 2/19/16)
After writing this blog post, I did something super amazing.
I WENT WITH SCOTT TO GO GET METAL!
Thank the force, we'll actually be able to get to work on the lathe on Monday.
I WENT WITH SCOTT TO GO GET METAL!
Thank the force, we'll actually be able to get to work on the lathe on Monday.
 RSS Feed
