(Tuesday 2/4/16)
I spent yesterday (upon my teacher Scott's request) helping out some lathe newcomers with their training, so I didn't bother including a Monday section.
We started today by using the Nepris service. (Nepris allows classrooms to have conversations with professionals from different career spaces.) We used Nepris to talk to some people who belong to Turner Industries. They spoke to us about career opportunities in the industrial field. It was good stuff.
I spent the rest of today working on drafting out the electronics on the lightsaber, and I've also started putting together a parts list. (The list doesn't have everything on it yet, so I won't post it here.)
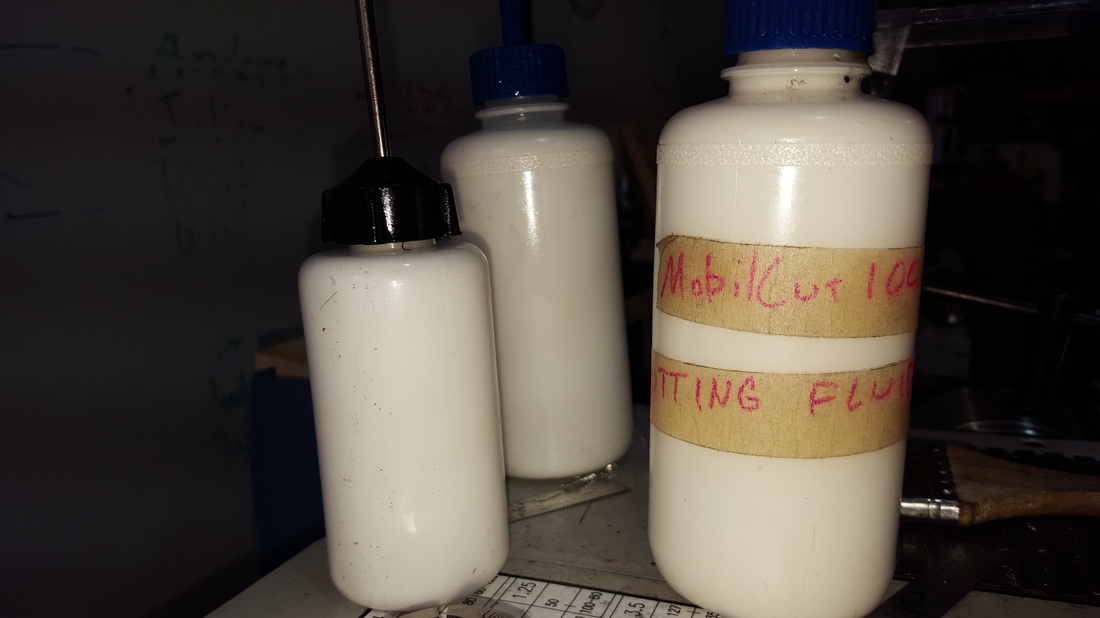
Oh, and I also made some machining oil.
We started today by using the Nepris service. (Nepris allows classrooms to have conversations with professionals from different career spaces.) We used Nepris to talk to some people who belong to Turner Industries. They spoke to us about career opportunities in the industrial field. It was good stuff.
I spent the rest of today working on drafting out the electronics on the lightsaber, and I've also started putting together a parts list. (The list doesn't have everything on it yet, so I won't post it here.)
Oh, and I also made some machining oil.
(WEDNESDAY 3/4/16)
I spent the majority of today looking at lightsaber parts, and making crude sketches of the lightsaber's electronic guts. Here's the parts I (think) I need, along with some handy links.
Electronic Parts
Electronic Parts
- LED's
- Batteries
- Red Blade
- Blue Blade
- LED Lens (Spreads light evenly throughout the blade)
- Possible Switch
- DIY Powder Coat Tutorial
- Possible Powder for Coat
- Possible Powder for Coat #2
- Possible Place for Powder Coats
- Good Powder Coating Website
- Black Spray Paint (For Aging)
- Anodized Bronze Spray Paint (For Aging)
- Deep Blue Spray Paint (For Aging)
- Aluminum
- Steel Half Sphere (1.5in Diameter)
(THURSDAY and friday 2/4/16 - 2/5/16)
The past two days were spent figuring out the wiring on the lightsaber. My partner Harrison and I wanted to have something to show for before having our teacher purchase the parts I listed above, so we started by grabbing an of LED, a small 2 V battery housing and a switch with some wires for the activation mechanism. The job was pretty crude because we didn't want to do any soldering. (We opted out for electrical tape as you can see.)
More importantly, I learned a couple of things too:
As far as my project is concerned, there are two types of switches. Momentary, and latching. A momentary switch is a switch that activates only when it is being held down. A latching switch is a switch that turns on, then off upon activation. The big red button on slide three is a latching switch.
I also learned about category of battery that Harrison and I will be using. The airsoft battery that we're using belongs to a family of batteries called Lithium Polymer, "Lipo" batteries. Lipo battery cell holds about 3.7 V when charged, and about 2.5 V when discharged. Typically, you don't want to go above or below that margin. (Or else the damned this will spew white fire three feet in every direction.) The battery that we are going to use is an 11.1 V battery, this means that it is comprised of three cells. The battery has a capacity of 1,000 mAH. (milli-Amp Hours) this means that the battery is capable of pumping out 1,000 Amps for an hour. (Or 10,000 Amps for a like 10 seconds.) Oh, and one more thing, Lipo batteries have an advantage over other batteries in one aspect: the performance of a Lipo battery doesn't deteriorate as the battery discharges.
Well, I guess that's all for now folks.
SEE YA.
 RSS Feed
